

My Avocado Key Lime Pie dessert always gets me lots of attention, once you make it yourself it’ll get you a lot of attention, as well. This ketogenic-esq, dairy free, vegan, vegetarian, gluten-free, paleo, whole food and most importantly delicious recipe is something we can all agree on. The only problem with this rich, flavorful, and delightfully textured recipe is what to call it, “avocado key lime pie” or “citrus cheese cake”. I mean, no -one really cares what you call it when the recipe tastes this good while being guilt free.
I recommend using a food processor for this no-bake recipe. Both the filling and crust are made by blending ingredients together. A blender or emersion blender might work in a pinch but you are really going to want a food processor to save you time and ease.
For the pie crust, particularly, you’ll need extra leverage to power through blending the nuts to get to an almost nut-butter consistency. Below I left a link for my favorite food processor for home kitchens. A small, simple design from Hamilton Beach. I use my Hamilton Beach food processor for tons of different kitchen chores, chopping veggies and making nut-butters are my primary reasons.
Hamilton Beach 8 cup food processor
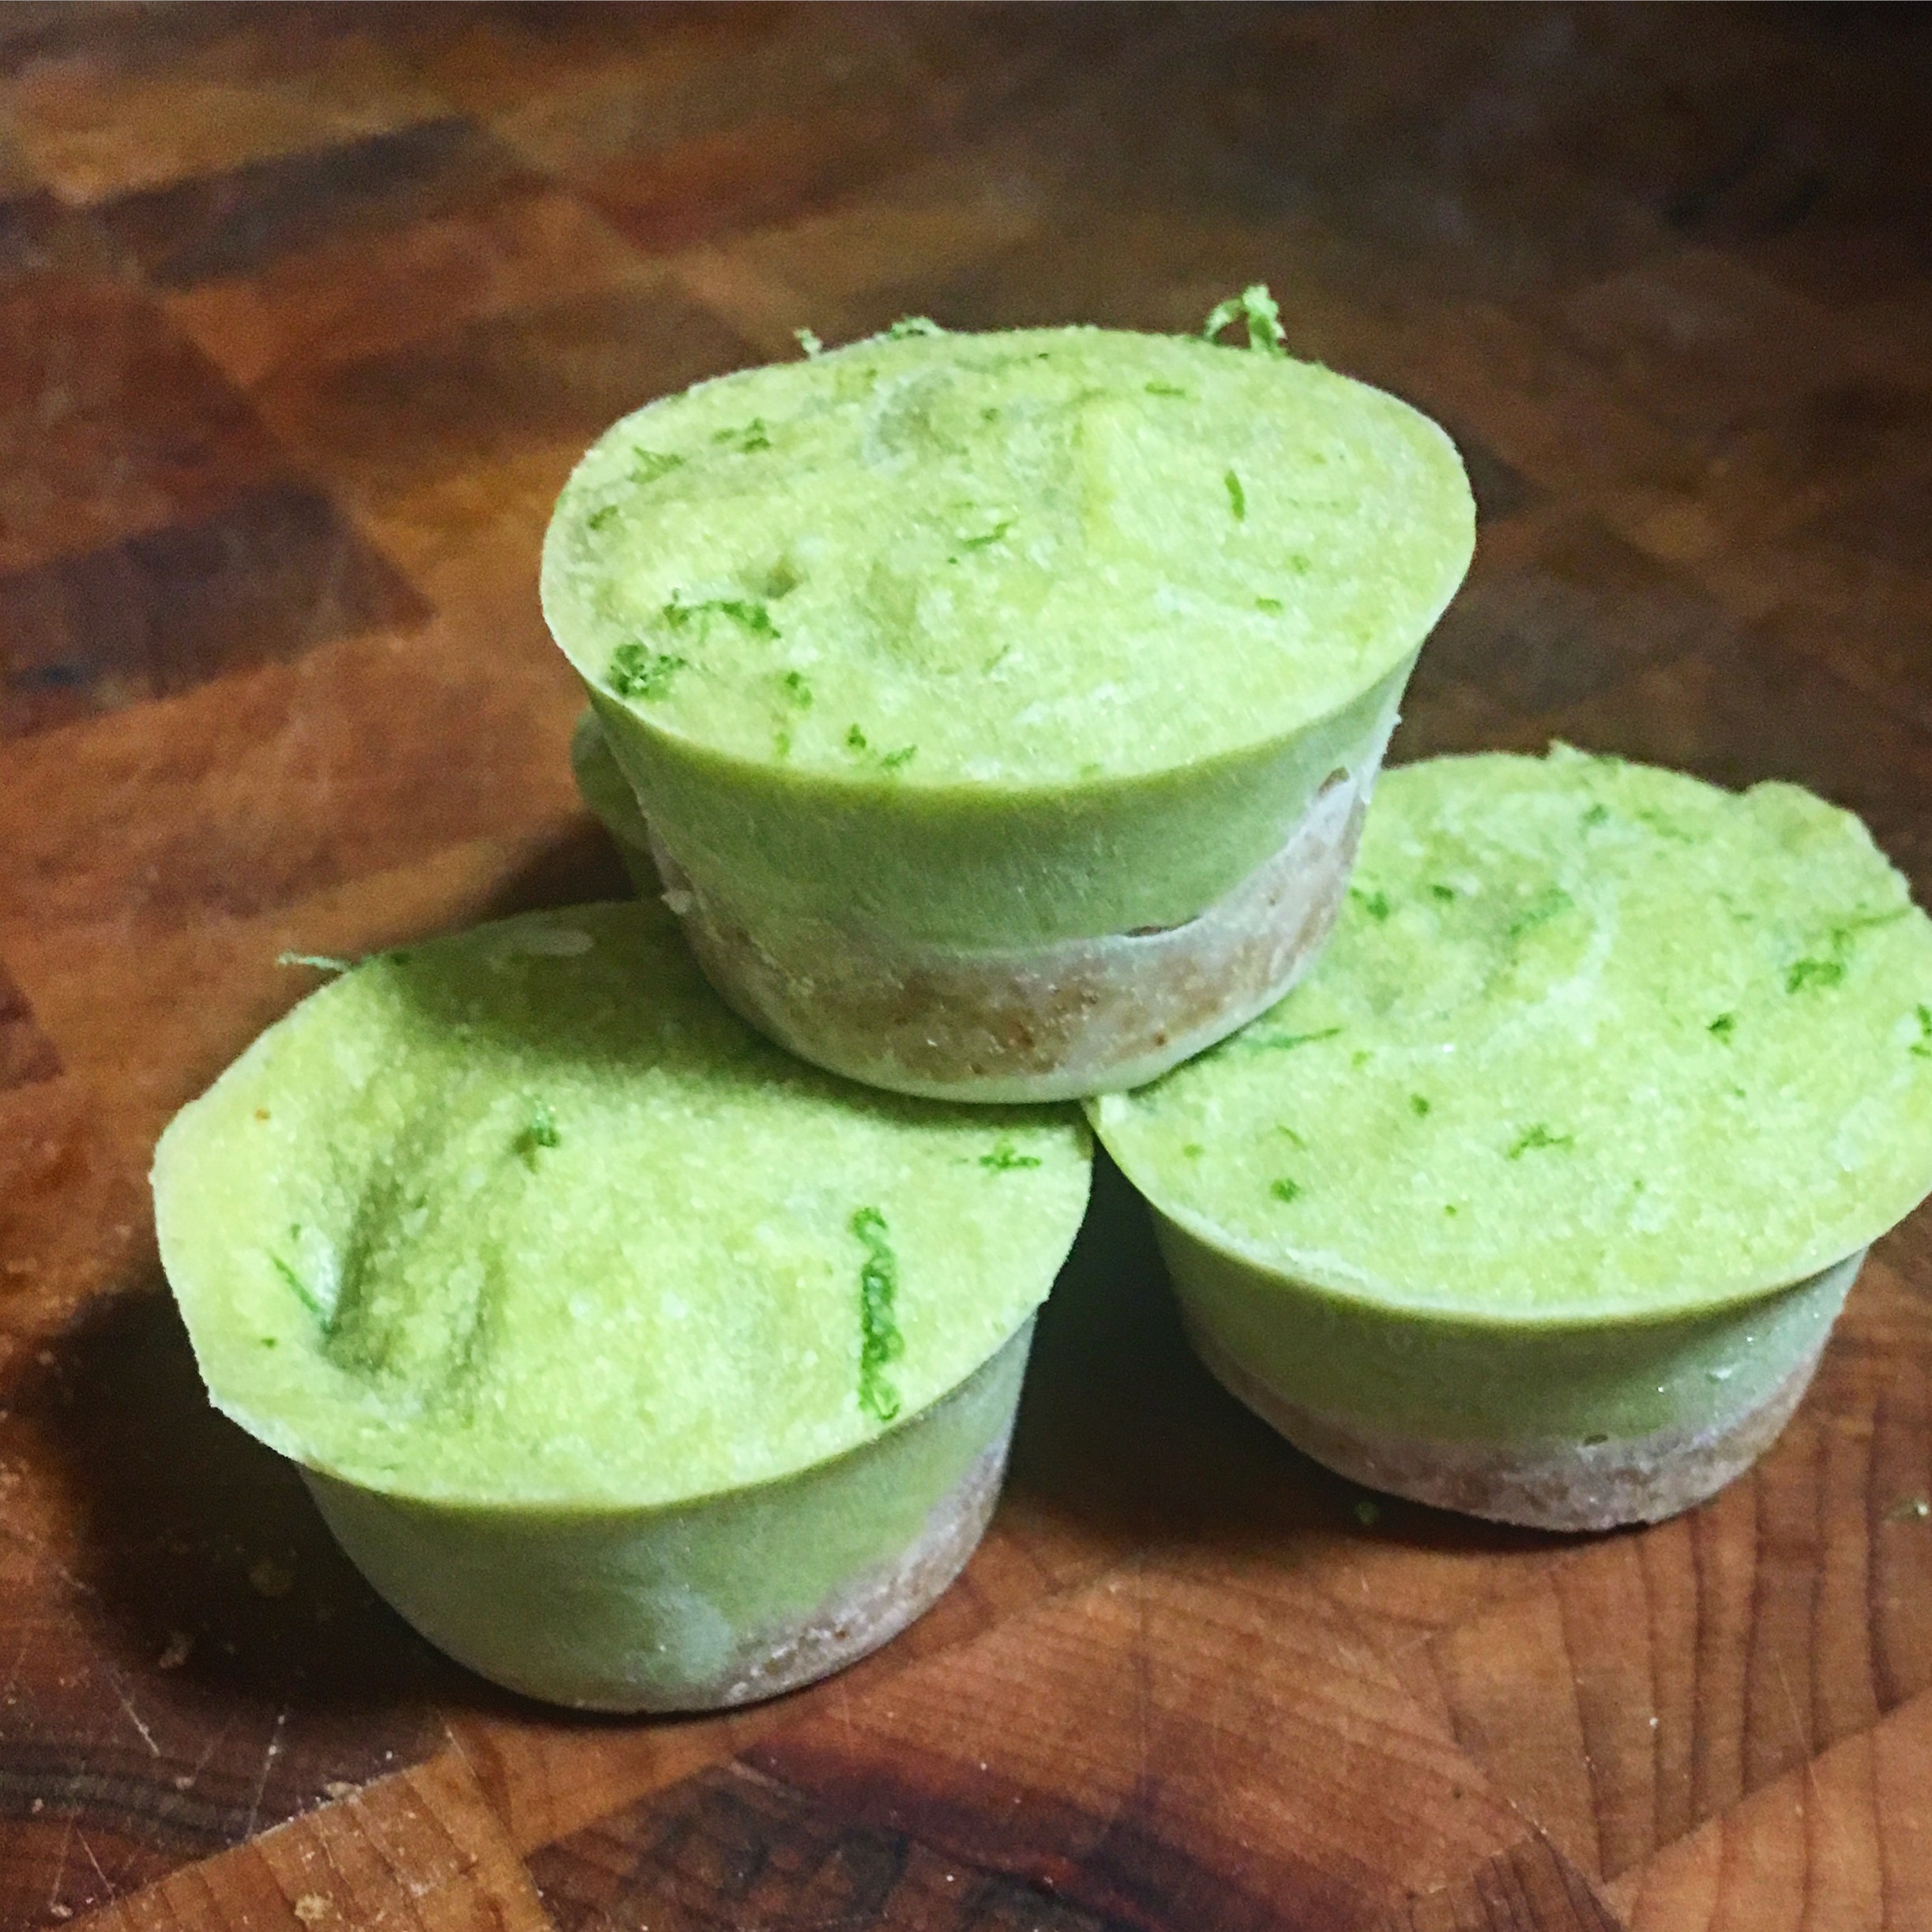
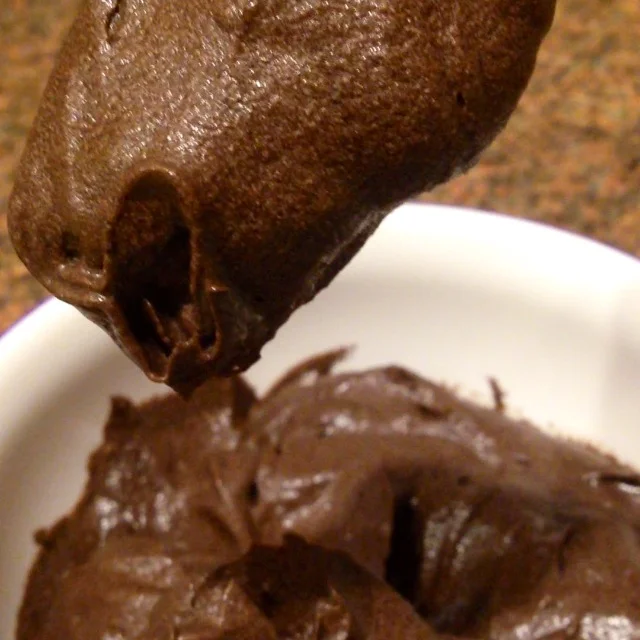
If nuts are something that you’re allergic to or perhaps you just don’t have the time to spend on this slightly tricky crust. If thats a concern of your consider just serving the filling as an avocado mousse. I’ve served the filling on it’s own many times and it’s always a crowd pleaser. Served in bowls an avocado mousse is great on its own or try these Popsicle Trays . A perfect whole food dessert option for kids.
Timing avocados right is more of an impossible art then a science. The ripeness of your avocados will make a big difference in the final product. Whoops did I add to your avocado ripeness anxiety? Just take solace in knowing when you have a ripe avocado, you can peel and store them in a zip lock freezer bag. Avocados can be stored in the freezer for a few weeks before you need to use them in recipes. Smoothies or this amazing keto diet friendly dessert work great with pre-frozen avocados. Which gives you plenty of time to collect the rest of the ingredients or wait for the perfect event to unveil your healthy amazing dessert.
When you master this recipe your cooking prowess will be known throughout the land. So when you take pictures for instagram, please send a little shout out to your boy @Lazy_Bachelor_Nutrition. Without further ado here is this wonderful, rich, flavorful, whole food, low carb recipe that I promised you.

Avoid this Serving Mishap
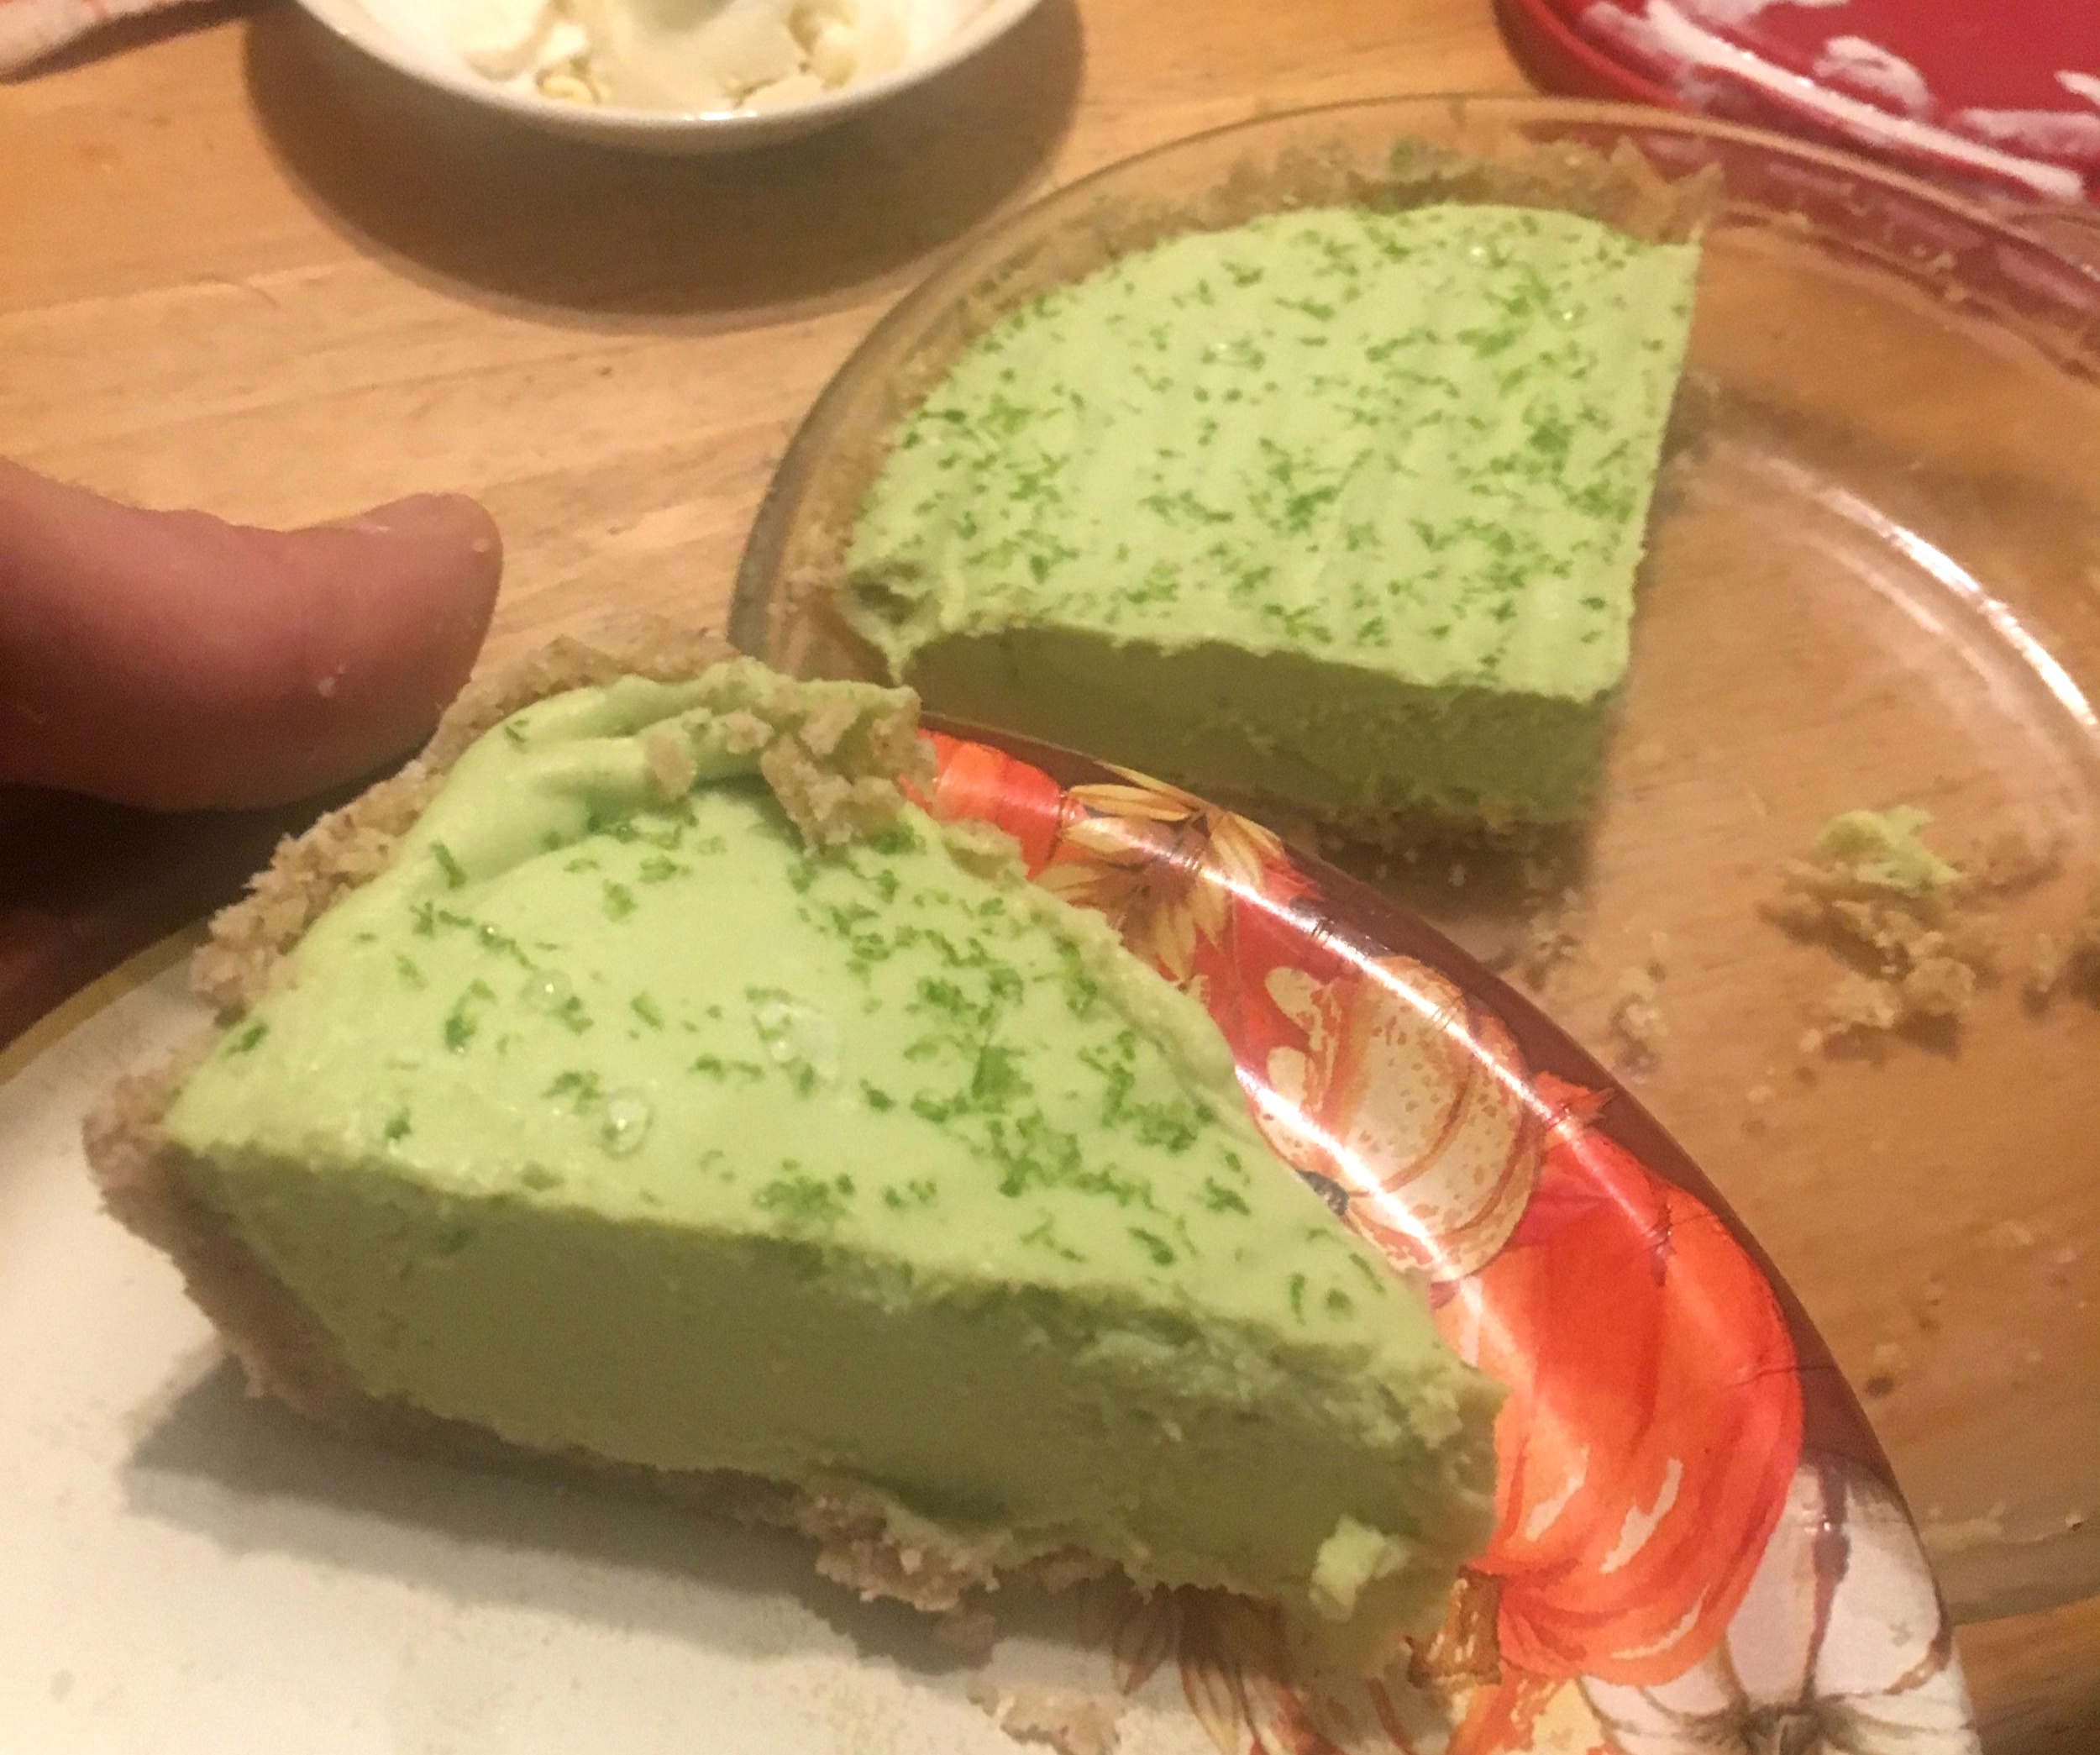
Shaping the pie crust while preventing it from sticking to the pie pan, can be tricky. Dust the pie pan with coconut flour to avoid the struggle captured in this picture. .
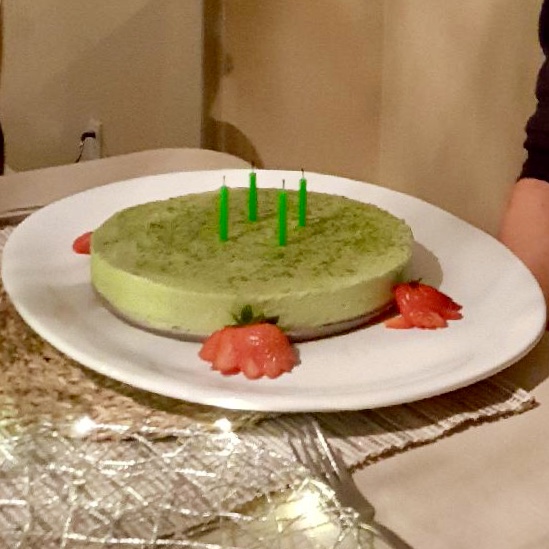
Avocado Key Lime Pie
Ingredients
Crust
1 cup almonds
1/3 cup cashews
3/4 cup fine coconut flakes (1/2 cup coconut flour)
1/3 cup maple syrup
1/4 teaspoon vanilla extract
1/4 teaspoon fine salt
2 tablespoons melted coconut oil
Filling
3 avocados, roughly 2 cups
1/2 cup melted coconut oil
1/4 cup coconut milk
1/3 cup lime juice
Zest of one lime (optional)
1/3 cup maple syrup
Start with the crust, blend dry ingredients (almonds, cashews, coconut, salt) in food processor until thoroughly mixed and broken down. Add wet ingredients (vanilla extract, maple syrup, coconut oil) and blend to a soft slightly moist texture.
In a 12" pie pan dusted with coconut flour form the crust into it’s shape. Use a rolling pin to before putting in the pie pan to make an consistent and thin crust. Leave in freezer while you work on the filling.
Wipe food processor clean and prepare ingredients for pie filling. Add all filling ingredients into the processor and blend, till a consistent texture. Pour filling in pie tray and place back in freezer for at least 1 hour or overnight but not much longer.
For extra lime flavor zest one lime peel over the top of the pie before freezing. Don’t skip this step if you can avoid it. The lime zest will dial up the citrus flavor to eleven.
Thanks for reading, I hope you enjoy this recipe.